I thought I'd
kick off 12 crafts of Christmas today with two types of advent calendar you can
make at home. They're both such great fun to do and the perfect craft to get
you in the festive mood- that and you'll have an excuse to eat chocolate every
day for a month and the advent will last for years to come!
With Chris and I saving hard for a deposit on a house, we don't have a great deal of spare cash so when Bryony at Ocean Loans contacted me about a Christmas craft upcycling challenge I got very excited. Ocean Loans help people buy homes and wanted me to combine people's love of their home, Christmas and crafts to create this advent calendar.
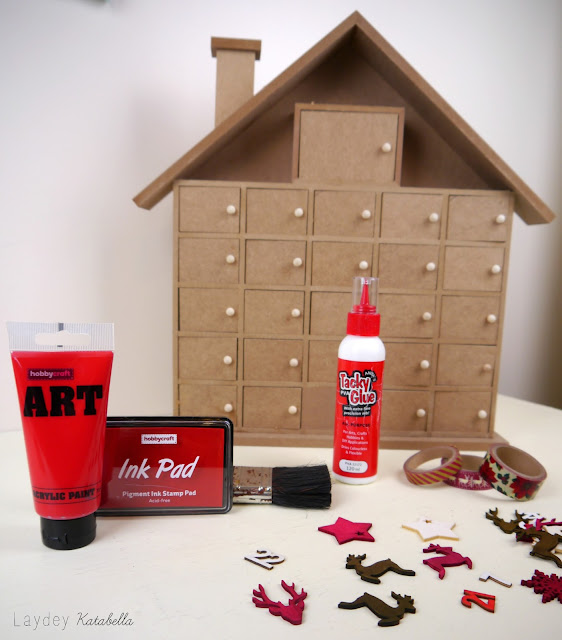
They very kindly sent me this wonderful advent house to upcycle and decorate so I headed to Hobbycraft to get some supplies! I wanted to go with a scandi style as it'll match in with the living room best.
Now as this was an upcycling challenge I also used some things I already had at home which were some blackboard paint and cream chalk paint I'd previously used to paint my craft desk.
You Will Need
- Wooden advent house
- Wooden snowflakes and stars
- Wooden advent number toppers
- Christmas striped washy tape
- Blackboard paint
- Cream chalkboard paint
- Wax
- Hot glue gun
- Red ink stamp pad
- Sponge
- White Chalk pen
How to Make
1. Paint the house with cream chalk paint, then paint the roof and chimney and the empty square at the bottom of the advent house with blackboard paint.
Note: when painting the doors leave them open so they don't stick. The chalk paint may require a few coats.
2. Once completely dry, seal the chalk paint with furniture wax, buffing in with a lint-free cloth.
3. Using a hot glue gun, attach the reindeer to the roof. Hold in place until set.
4. Next take your sponge and dab into the ink stamp pad. Apply the ink around the edges of all your cream stars, snowflakes and reindeer to give them some dimension and so they stand out against the cream house. Also dab red ink onto the door knobs of the house.
5. Next arrange your stars, snowflakes and reindeer on each door, placing a wooden number next to them,
6. Apply your washy tape to the bottom edge of the house and edge of the roof.
7. Finally write the year on your black board square using a liquid chalk pen.
And viola! Your advent calendar is ready to fill with goodies that'll count you down to Christmas day.
I had SO much fun creating this advent house. Thank you Ocean Loans for setting me the challenge. It's definitely going to be a firm feature in our Christmas decor and really make the place feel homely.
Next up is the stocking advent which if you're into sewing you will love!
I've done a full step-by-step guide to making it over on The Handmade Christmas Fair's blog so check that out or you can watch the how-to video on my YouTube channel below:
I hope you've enjoyed these advent calendars. I'm yet to decide if Chris and I have on each or we share and have an advent calendar for the pets... Yup, we're cool I know!
Have you made an advent calendar? I'd love to see them! So with two of my 12 crafts of Christmas complete, I'll be leading on to "5 simple Christmas crafts" so stay tuned for those!
Happy Christmas crafting!


These are lovely! Did they take you long?
ReplyDeleteCarolanne x
www.aliterarycocktail.com
Thank you! Not really, just had to be patient waiting for the paint to dry with the wooden advent calendar! They were both so much fun though it was worth it :-) xx
Delete